
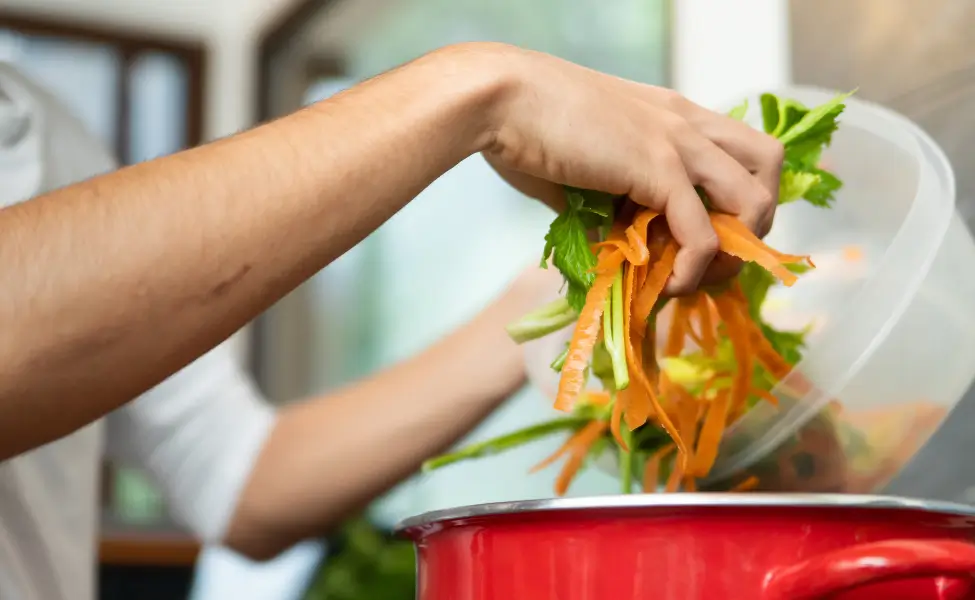
Do you toss out carrot tops, onion peels, and celery leaves?
Turn these scraps into rich, flavorful broth with just water and a pot. About an hour of simmering transforms peels, stems, and ends into a tasty soup base that costs pennies and reduces kitchen waste.
I’ll show you which scraps work best, how to store them, and how to use your finished broth.
Why Make Broth from Vegetable Scraps
Turning kitchen scraps into broth cuts food waste and gives you a flavorful cooking base.
You control every ingredient and save money compared to store-bought versions.
The Real Benefits
Every kitchen wastes food. Carrot peels, onion skins, and celery leaves usually go straight to the trash.
These parts can make delicious broth instead.
Homemade broth costs pennies per batch since you’ve already paid for the vegetables.
Most store-bought broths contain additives and preservatives you can’t pronounce.
When you make your own, you choose what goes in and control the salt level.
A simple freezer bag collects scraps over time. Once it’s full, you’re ready to make broth.
How Broth Improves Your Cooking
Broth adds depth to dishes. It’s far superior to water for cooking rice, quinoa, grains, and making soups. The broth brings out the natural taste of the vegetables you used.
Mix different scraps for varied flavors each time.
The longer you simmer your broth, the richer and deeper the flavor becomes. You can make it as strong or mild as you prefer.
Quick Reference: Best and Worst Scraps for Broth
| Scrap | Effect | Notes |
| Onion skins & ends | Deep flavor & color | Use moderately, too many add bitterness |
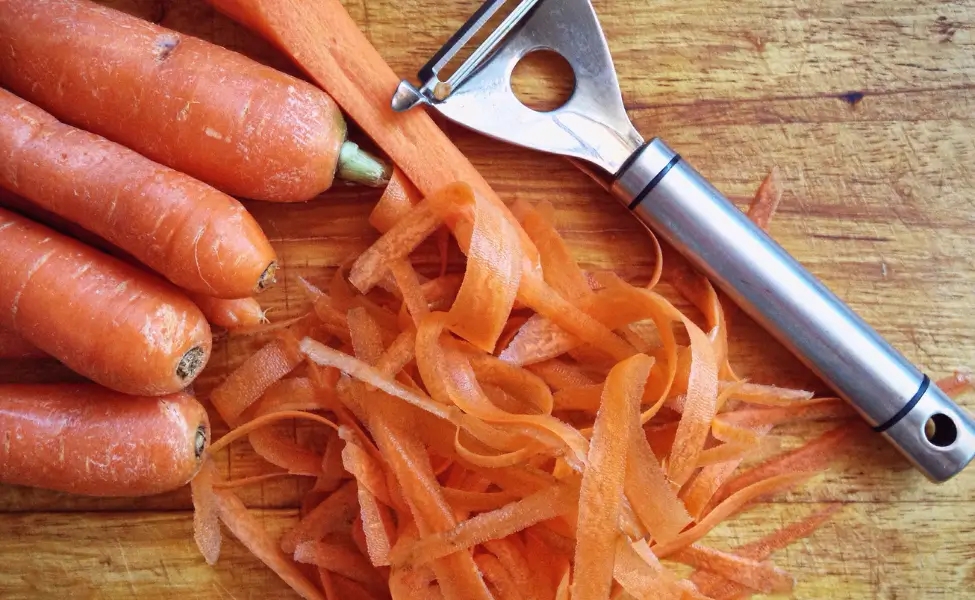
| Carrot peels & tops | Natural sweetness | Always safe, adds color |
| Celery leaves & ends | Savory backbone | Too many leaves can add bitterness |
| Mushroom stems | Rich umami | Very effective for depth |
| Parsley stems | Bright, fresh taste | Better than leaves for broth |
| Garlic skins & ends | Rich flavor | Use moderately, too many add bitterness |
| Leek tops | Mild onion flavor | Excellent choice |
| Corn cobs | Subtle sweetness | Good, but can release starch with very long cooking |
| Tomato ends | Light acidity | Use in moderation |
| Bell pepper scraps | Mild flavor | Works well |
| AVOID: Potato peels | Makes broth cloudy | Skip entirely |
| AVOID: Brassicas | Bitter, sulfur notes | Avoid broccoli, cabbage, cauliflower, Brussels sprouts |
| AVOID: Beets | Purple color, bitter | Skip for neutral broth |
| LIMIT: Asparagus | Strong, can dominate | Use very sparingly or skip |
Choosing and Storing Your Scraps
What to Save
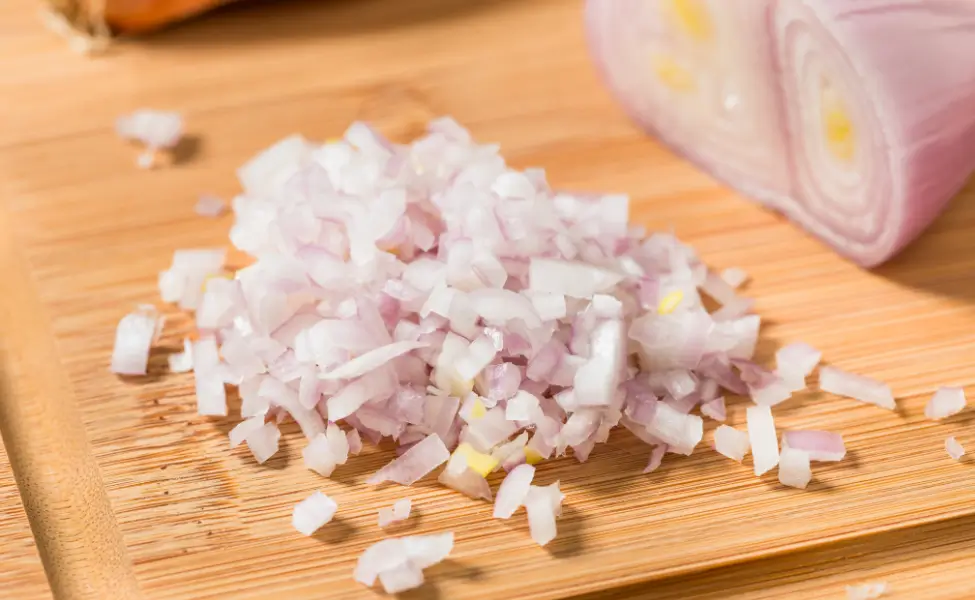
The foundation of good broth starts with three vegetables: onions, carrots, and celery. These create a balanced flavor base.
Herb scraps boost flavor without extra cost. Parsley stems perform beautifully. Thyme sprigs and bay leaves add earthiness. Save garlic skins and ends for richness.
Mushroom stems excel in broth. Leek tops give a hint of onion flavor. Tomato ends can add subtle acidity. Bell pepper scraps and corn cobs also give good results.
What to Avoid
Some vegetables have strong flavors that turn broth bitter or unpleasant. Skip brassicas like broccoli, cabbage, cauliflower, and Brussels sprouts entirely. They release sulfur compounds that taste bitter.
Beet scraps turn broth purple and bitter. Potato peels make broth cloudy and starchy. Winter squash flesh can get gummy.
Never use spoiled vegetables. Anything moldy, slimy, or rotten won’t taste good and isn’t safe.
Avoid using too much of one type of scrap. A mix gives the best flavor.
Storage Tips
Store your scraps in the freezer to keep them fresh for weeks. Use a large freezer bag or container with the date written on it. Add new scraps as you get them.
Wash vegetables before cutting to keep scraps clean. Keep fresh scraps in the fridge for up to 3 days in a covered container.
Collecting enough scraps takes a week or two. You’ll need about 8 to 16 cups of mixed scraps for one large stockpot, which makes 6 to 12 cups of broth.
Simple Vegetable Broth Recipe
The Basic Ratio
Start with this simple formula: 2 to 3 cups of scraps for every 8 to 10 cups of water.
This ratio gives you flavorful broth without waste.
Adjust based on how strong you want the flavor.
What You Need
Basic ingredients:
- 8 to 16 cups mixed vegetable scraps
- 10 to 12 cups cold water
- Optional: 1 to 2 bay leaves
- Optional: 6 to 8 whole black peppercorns
- Optional: Fresh herb sprigs (thyme, parsley stems)
Tools:
- Large stockpot (6 to 8 quart)
- Fine mesh strainer
- Large bowl
- Storage containers
Step-By-Step Method
1. Prepare your scraps
If using fresh vegetables instead of saved scraps, chop two onions, five celery stalks, and five large carrots into 2-inch chunks. Add any saved scraps you have. Peel six garlic cloves and leave them whole.
For deeper flavor, heat a tablespoon of oil in the pot and sauté the vegetables for 10 minutes until they smell sweet and aromatic. This step is optional.
2. Add water and seasonings
Add 10 cups of cold water to cover everything. Cold water helps extract more flavor as it heats up. Add bay leaves, peppercorns, or herb sprigs if using.
3. Simmer
Cover the pot and bring to a gentle boil (around 200 to 210°F). Lower the heat and simmer for 45 to 60 minutes. As it cooks, the broth turns golden brown and fills your kitchen with a warm, savory aroma.
4. Strain and finish
Place a large bowl under your strainer. Pour the hot broth through to catch all the vegetable pieces. Press the vegetables gently to squeeze out extra liquid.
Taste the broth. Add a pinch of salt if you want a stronger flavor. Let the broth cool to room temperature before storing.
Customizing Your Broth
Add fresh herbs during the last 15 to 20 minutes of simmering. Thyme and rosemary bring complexity, but note that rosemary and sage can become bitter with very long cooking. Remove woody stems before this happens.
Parsley stems add brightness. Bay leaves add subtle earthiness but should be removed before straining.
For umami depth, add dried shiitake mushrooms. Soak them first, then use both the mushrooms and soaking liquid.
Taste your broth as it simmers. If it’s too strong, add more water. If too weak, simmer longer uncovered to concentrate the flavor.
Storage and Food Safety
Cooling and Refrigerating
Let the broth cool to room temperature before storing. This prevents condensation inside containers. Never put hot broth directly into the fridge, as it raises the temperature and affects other foods.
Store cooled broth in clean glass jars or containers. Leave space at the top because liquids expand when frozen. Label each container with the date.
Refrigerator: Fresh broth keeps for 4 to 5 days in the coldest part of your fridge.
Freezer: Broth stays good for 4 to 6 months frozen.
Freezing Methods
Ice cube trays: Freeze broth in ice cube trays for small portions. Each cube equals about 2 tablespoons. Once frozen, transfer cubes to a freezer bag.
Larger portions: Pour broth into freezer bags in 2 or 4 cup portions. Lay bags flat to save space and speed up freezing and thawing.
Using Safely
Always reheat the broth until it’s piping hot (165°F or higher) before using. Thaw frozen broth overnight in the fridge, not on the counter.
If broth develops an off smell, strange color, or mold, discard it immediately.
How to Use Your Homemade Vegetable Scrap Broth
Use broth anywhere a recipe calls for liquid. It enhances flavor in ways water cannot.
Soups and Stews
Homemade broth forms the perfect base for soups and stews. Add leftover vegetables, beans, and grains to hot broth.
Since the broth is already flavorful, soups need only 20 to 30 minutes to finish. For thicker stews, stir in a cornstarch slurry or mash some vegetables directly in the pot.
Cooking Grains
Replace water with broth when cooking rice, quinoa, farro, or other grains. Use a 2:1 ratio (two cups broth per cup of grain). The grains absorb all that vegetable flavor as they cook.
Pasta and Casseroles
Cook pasta in broth instead of water for extra flavor. Use broth in place of milk or water in casseroles. It works especially well in rice casseroles and gratins. Adding broth keeps casseroles moist during baking.
Sauces and Braising
Add broth to sauces when you need to thin them or boost flavor. Use it as the liquid base when braising vegetables or meat. The broth adds depth that water cannot match.
Other Uses
Broth works well in:
- Risotto (replaces water entirely)
- Mashed potatoes (use instead of milk)
- Stuffing for poultry
- Steaming vegetables
- Deglazing pans after sautéing
Warm broth also makes a light, nourishing snack. Add fresh herbs or a squeeze of lemon for extra flavor.
Quick Tips for Best Results
Balance your scraps: Use roughly equal amounts of onions, carrots, and celery as your base. Add other scraps as extras.
Don’t oversimmer: After 60 to 90 minutes, vegetables have given most of their flavor. Longer cooking can make broth bitter.
Save prep scraps strategically: When cooking, set aside clean scraps in a bowl. Add them to your freezer bag immediately.
Refresh tired broth: If thawed broth tastes weak, simmer it uncovered for 10 to 15 minutes to concentrate the flavor.
Make concentrated broth: Use less water (6 to 8 cups instead of 10) to make concentrated broth. Dilute it when you use it.
Season at the end: Add salt when using the broth in a recipe, not while making it. This gives you more control over final seasoning.