
Many people think they need expensive equipment to start canning at home. That idea keeps many from trying food preservation, even though they could begin with what’s already in their kitchen.
A beginner can start canning high-acid foods like jams, pickles, and fruits using just a large stockpot, some mason jars, and a few simple tools. The trick is knowing which canning method works for what and how to swap in basic gear while staying safe.
Learning to can without special equipment opens up your options. You can save your garden harvest, cut grocery bills, and get more confident in the kitchen, all without spending a lot on special equipment.
Important: I cover canning for high-acid foods only. You cannot safely can low-acid foods like vegetables, meats, or broths without a pressure canner.
Here’s what you need to know before you start.
Canning Basics for Beginners
Home canning is a straightforward way to use heat to eliminate bacteria and seal jars so food stays fresh for months. Heating removes air and creates a vacuum, stopping bacteria from growing inside.
What Is Home Canning and How Does It Work?
What makes home canning work? It preserves fresh food by heating it in glass jars to kill bacteria and other germs. The heat forces air out, and as the jar cools, a tight seal forms.
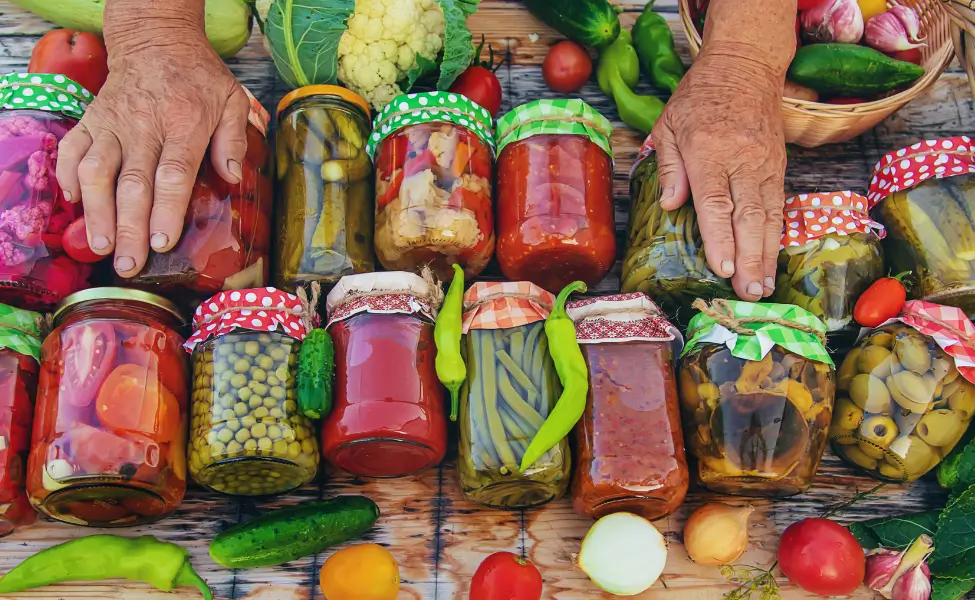
People can preserve all kinds of food this way. High-acid foods like fruits, jams, and pickles are great for beginners.
The process uses mason jars with metal lids. These jars can handle the heat. Regular glass jars from store-bought foods might crack, so use only proper canning jars.
There are two main types:
- Water bath canning for acidic foods (what this guide covers)
- Pressure canning for low-acid foods like vegetables and meats (requires special equipment)
Water bath canning is easier and works well for beginners. You need only boiling water.
How Canning Works to Preserve Food
How does heating jars actually keep food safe?
Canning uses heat to eliminate the tiny germs (bacteria, mold, yeast) that spoil food. Heat eliminates these microorganisms.
As jars cool, a vacuum forms and keeps new germs out.
Here’s the basic process:
- Fill clean jars with prepared food
- Put on new lids and rings
- Heat jars in boiling water for a set time
- Let jars cool to seal
Sealed jars keep your food fresh at room temperature. Home-canned food is best within one year, though safely stored jars may last longer if quality remains good.
The acid level in food determines which canning method to use. High-acid foods are safe with water bath canning since acid helps kill germs.
Understanding how canning preserves food helps you see why it’s worth learning.
Benefits of Home Food Preservation
Save money by preserving food when prices are lowest. People can also preserve their extra garden produce.
Canned food from home usually tastes better than store-bought. You get to decide what goes in, no unnecessary additives or extra salt.
Some key benefits:
- Lower grocery bills
- Better flavor and quality
- Control over ingredients
- Food storage that does not need a fridge
You will know exactly what’s in each jar.
Home canning cuts down on food waste. Instead of tossing extra fruits or vegetables, you can save them for later.
Many people find canning relaxing and rewarding. It’s a nice way to connect with traditional food preservation methods.
Now that you know why canning is worth trying, let’s look at how to do it with basic kitchen gear.
Canning Methods Without Fancy Equipment
You don’t need special equipment to safely preserve food at home. Water bath canning is perfect for high-acid foods, and knowing the difference between high and low acid keeps things safe.
Water Bath Canning with Common Kitchen Tools
What if you don’t have a canning pot?
Water bath canning uses boiling water to preserve jars of food. Any large stockpot (at least 8 quarts) will do, as long as it’s deep enough to cover jars by at least two inches.
Your pot needs a lid to maintain the water temperature. Make sure your biggest pot fits the jars you plan to use.
Making a Simple Canning Rack:
- Wire together 6 to 8 canning jar rings
- Use heat-safe wire or string
- Place it on the bottom of the pot to keep jars off direct heat
This prevents jar breakage and allows water to circulate around the jars.
Kitchen tongs can replace special jar lifters. Wrap 6 to 8 rubber bands around each end to help grip wet, hot jars.
You can cut the bottom off a red solo cup to make a funnel. It fits jar openings and works well for jams, salsas, and thick sauces.
Understanding High-Acid vs. Low-Acid Foods
High-acid foods (pH 4.6 or lower) are safe for water bath canning. Low-acid foods need pressure canning to eliminate dangerous bacteria.
High-Acid Foods Safe for Water Bath Canning:
- Fruits like apples, peaches, and berries
- Jams and jellies (some recipes require added pectin, follow your recipe)
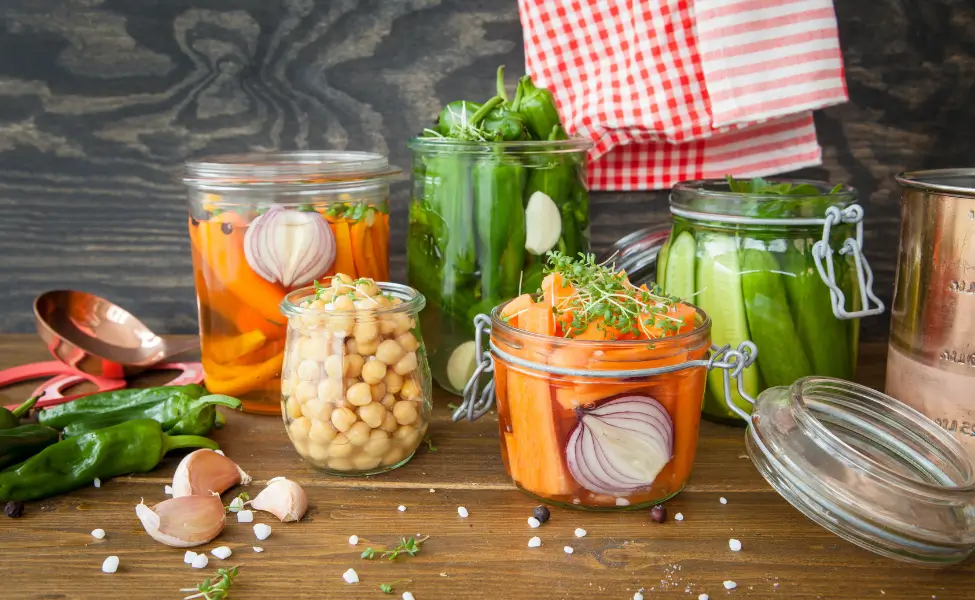
- Pickles (with the right vinegar ratio)
- Tomatoes (with added citric acid or lemon juice)
Low-Acid Foods Requiring Pressure Canning:
- Vegetables like green beans, corn, carrots
- Meats and poultry
- Seafood
- Soups and broths
Some foods, like tomatoes, need added acid to be safe for water bath canning. Add 1 tablespoon lemon juice or 1/4 teaspoon citric acid per pint jar.
The National Center for Home Food Preservation provides tested recipes with correct acid levels and processing times. Always use approved recipes rather than experimenting with your own ingredient ratios.
Important Canning Safety Principles
Botulism is the main danger in home canning. Clostridium botulinum bacteria thrive in low-acid, airless conditions and can be deadly.
Use only tested recipes from reliable sources like the National Center for Home Food Preservation, Ball canning guides, or university extension services. Do not change ingredient ratios or processing times. These recipes ensure the food reaches safe temperatures and acidity levels.
Key Safety Rules:
- Process jars for the full recommended time
- Adjust processing time for altitude above 1,000 feet
- Use new canning lids every time
- Check all jar seals before storing
At higher altitudes, add extra processing time according to your recipe’s altitude chart.
After jars cool, check seals. Properly sealed lids do not flex in the center. If a jar did not seal, refrigerate and use within a few days. Do not reprocess jars with failed seals.
With safety basics covered, let’s gather what you need.
What Equipment Do You Actually Need?
Start canning with items you already have in your kitchen. Just a few basics plus proper canning jars will get you going.
Canning Jars and Lids
Which jars are safe for home canning?
Only use mason jars designed for home canning. These jars are tempered to handle repeated heating. Other glass jars can crack or fail to seal properly.
Canning jars come in two main sizes:
- Regular mouth: Good for most foods
- Wide mouth: Easier to fill and clean
Start with pint and quart jars if you’re new to canning. They fit most recipes.
Buy new lids for every batch because the sealing compound only works once. Rings can be reused as long as they’re not bent or rusty.
You can find mason jars at grocery stores, hardware stores, garage sales, thrift shops, and online.
Buy extra lids when you’re starting out. They’re inexpensive, and you’ll need a fresh one for every jar.
Alternative Pots and Racks
Any large stockpot can work as a canning pot. It needs to be deep enough to cover jars with at least two inches of water.
The pot should have a lid. Most home stockpots work fine for water bath canning.
A canning rack keeps jars off the bottom. This stops breaking and helps water move around the jars.
No rack? Wire together some extra jar rings. Use wire that will not melt.
Some people use cake cooling racks, folded kitchen towels, or extra jar lids wired together.
Pressure canners are different equipment entirely. You’ll need one for low-acid foods like vegetables and meats. A regular pot cannot safely process these foods.
Simple Tools That Save Time and Effort
Beyond the basics, a few simple tools make the process smoother.
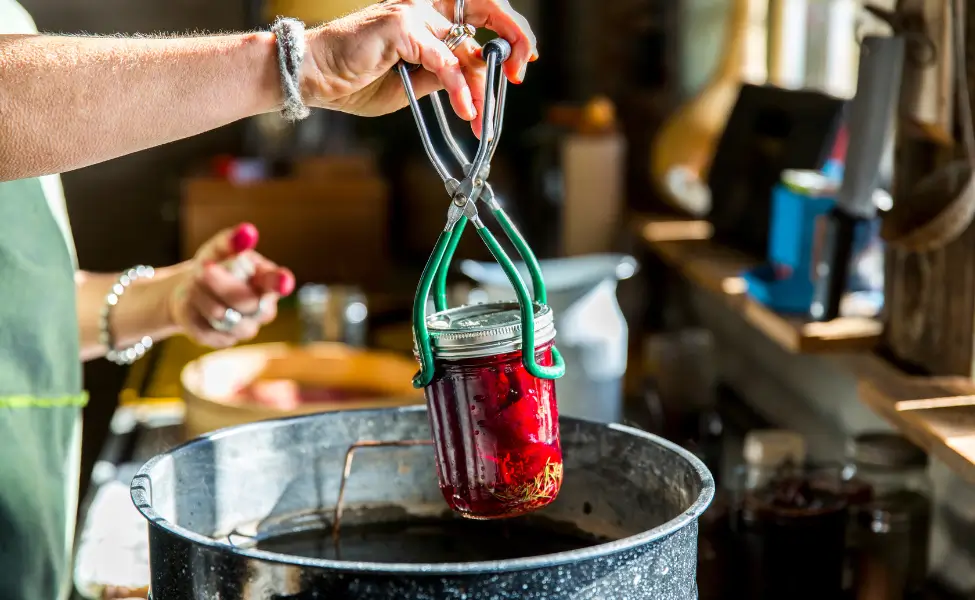
A jar lifter pulls hot jars out of boiling water safely. Kitchen tongs work too if you wrap the ends with rubber bands for grip.
The rubber bands help stop jars from slipping. Six to eight bands on each end usually works.
A canning funnel keeps things tidy when filling jars. Cut the bottom off a red solo cup for a quick DIY version. Make sure it can handle hot food.
Regular funnels often work but might be too small for wide-mouth jars.
A headspace tool or bubble remover helps you get the right air space. A clean plastic knife or wooden skewer does the trick too.
Other handy items:
- Large ladle for filling jars
- Clean kitchen towels
- Timer for processing
- Permanent marker for labeling
Most kitchens already have these basics. Starting simple lets you learn without a big investment.
Once you have your equipment ready, follow this process.
Your First Canning Session: Step-By-Step
Follow these steps to safely preserve food that stays fresh for months. Each part of the process needs attention to timing, temperature, and approved methods.
Prepping Your Food and Jars
Ready to preserve your first batch?
Good prep is the foundation for safe canning. Wash all jars in hot, soapy water and check for chips or cracks.
Place clean jars in a large pot of water. Heat to 180°F and keep jars warm until you’re ready to fill them. This helps prevent thermal shock.
For lids and rings:
- Wash new lids in hot, soapy water
- Leave at room temperature (modern lids do not require heating)
- Check rings for rust or dents
Prepare food according to your tested canning recipe. Wash, peel, or chop as directed. Cook what needs pre-cooking before filling jars.
Ingredient ratios matter for safety, so measure carefully and follow your recipe exactly.
Filling Jars and Adjusting Headspace
Proper filling helps jars seal and keeps out germs. Use a funnel to keep jar rims clean.
Ladle hot food into warm jars, leaving the right headspace (the space between the food and the rim). Most foods need 1/4 to 1/2 inch.
Remove air bubbles by sliding a plastic knife around the inside. Add more food if needed to keep the right headspace.
Headspace Guidelines:
- Jams and jellies: 1/4 inch
- Fruits: 1/2 inch
- Vegetables: 1 inch
Wipe rims with a damp cloth. Any residue can prevent proper sealing.
Place lids on jars and screw on rings until finger-tight (snug but not overly tight).
With jars filled and sealed, you’re ready for the processing step.
Processing, Sealing, and Cooling
Processing kills germs and seals the jars. Place filled jars in the canner with water covering them by 1 to 2 inches.
Bring water to a full rolling boil. Start timing once the water boils. Follow the processing times in your recipe exactly.
Water Bath Processing Times (adjust for altitude):
- Half-pints: Usually 5 to 15 minutes
- Pints: Usually 10 to 20 minutes
- Quarts: Usually 15 to 25 minutes
When the time is complete, turn off the heat and remove the lid. Let jars sit in the hot water for five minutes.
Use jar lifters to move jars to a towel-lined counter. Space them out for air flow. Do not tighten rings or check seals yet.
Let jars cool for 12 to 24 hours without moving them.
Check Your Seals and Store Your Jars Properly
Getting a good, airtight seal is what actually keeps your food safe. Wait until jars cool completely before checking the seals.
Press down on the center of each lid. If the lid’s sealed, it should not move or make any popping noises.
A sealed lid usually curves down slightly in the middle.
Signs of proper sealing:
- Lid stays firm when you press it
- No hollow sound if you tap it
- Center dips down slightly
Remove rings before storing jars. This helps prevent rust and makes it easier to spot seal failures.
Label everything with what’s inside and the date. Keep your jars in a cool, dark spot, somewhere between 50 and 70°F.
If a jar did not seal, refrigerate and use within a few days. Do not reprocess jars with failed seals.
Before eating, check jars for signs of spoilage. If you see bulging lids, notice off smells, or spot mold, discard the contents immediately. Never taste suspect food.
Home-canned food is best within one year for optimal quality and flavor.